- Home
- Memorial Day Meal Ideas
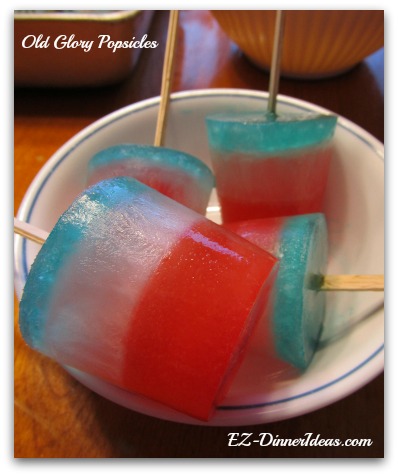
- Old Glory Popsicles
Beat The Summer Heat With
Old Glory Popsicles
A Big Crowd Pleaser
Enjoy making these Old Glory Popsicles with your little one(s). I assure that you will.
Prep Time: 20-30 Minutes Inactive Cook Time: 12 Hours Serving: 12+
My husband always teaches my son about patriotism. Therefore, my little one talks about “Old Glory” all the time right after he passed the “baby talk” stage. Because of that, we always incorporate the red, white and blue in many aspects of our lives. Part of it is food.
Just “Old Glory” jello, there are 2 versions here in our house we make very often. We do not only make these old glory desserts on Memorial Day and/or Independence Day, we also make it any time during the year.
Whenever my little one thinks about making any old glory desserts, I will just let him go for it. (Of course, under my guidance)
The Old Glory Popsicles did take me a while to figure out how to keep the Popsicle stick standing straight in the middle of the cup.
If you just make 4-6 pops, you can easily use the Popsicle mold to make it. But if you are making 20+, that could be a challenge. Why making so much?
On holiday like Memorial Day or Independence Day, our family always has cookout. There are always a lot of people gathering together. Making 4-6 pops are just not enough.
How to Make the Popsicle Stick Standing Up?
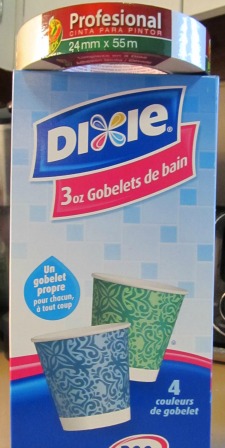
It was inspired by a Paula Deen's recipe and a day care teacher's daily routine to put this trick together.
Here is a tip for you. Putting a white painter tape across the cup and have the stick thread through a sliver in the middle of the tape will do the trick.
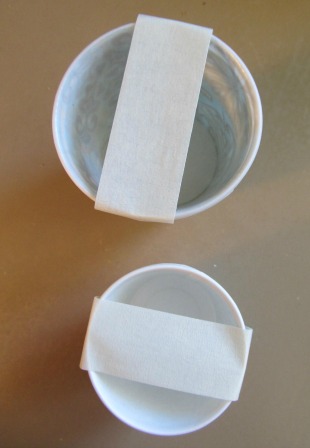 Stack 2 cups together. Put a white painter tape across the cup, not too tight
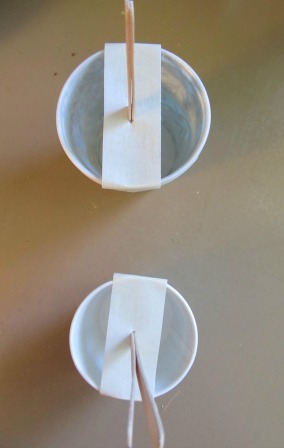 Cut a sliver on the tape lengthwise and put the popsicle stick through
Of course the best and easiest way is to put the tape on first before doing anything. But I was doing it with my 5-year-old which is difficult for kids at that age to just pour the juice through the opening next to the tape without making a big mess.
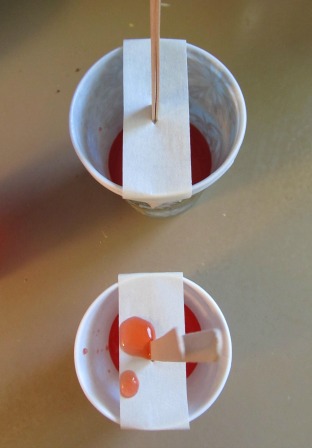 The cup on top is 5-oz (142g) and the one below is 3-oz (85g). The smaller the cup the messier and more difficult it is when it comes to pouring the juice through the opening next to the tape.
Therefore, if you make these Old Glory Popsicles with the little one(s), I highly recommend you to have your child(ren) pouring in the juice first without putting on the tape or double stacking the cups.
When he/she finishes the first layer of the Old Glory Popsicles, you will take care of the rest.
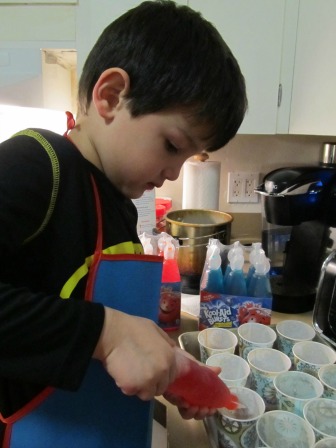 Let your little helper(s) to pour juice into the cups for the first layer. Then, you can worry about the tape and the stick after.
If your child(ren) is interested in participating in making the second and third layers, simply tear the tape in the middle to remove both the tape and the second cup at the bottom before moving on to the next layer.
At the time when I made these Old Glory Popsicles, I couldn't find the Popsicle sticks. So, I used 2 wooden coffee stirrers to substitute it. Why two? Because one is not strong enough to hold the pop. Two are strong enough to get the task done.
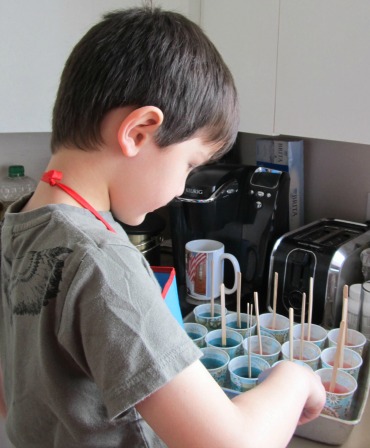 To allow your little helper(s) to complete the recipe, remove the tape and the stacked cups after the first layer is frozen.
Old Glory Popsicles Juice Combinations
Finding the blue juice most probably is one of the hardest things to do because red juice is literally everywhere. Lemonade is the best to take care of the white part.
Here are some suggestions for you to pair the red, white and blue together:
1) Kool-Aid powder package - each package requires 2 quarts (4lb / 1.8kg) of water for the mix. Follow the instruction on the package to mix the juice, but cut the water quantity to 1 3/4 quarts (3.5lb / 1.6kg).
2) Gatorade - a 20-ounce (567g) bottle can take care of 20+ Popsicles. The only setback is that once it is frozen, the flavor seems less tasty than it normally does which is the reason why you need to cut down the water on the Kool-Aid powder mix.
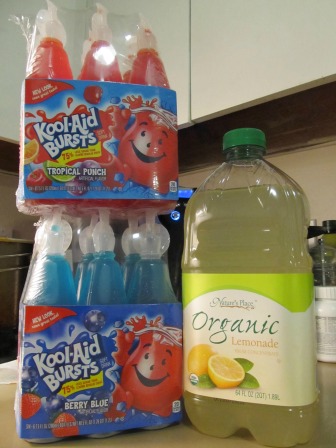
3) Kool-Aid Bursts (with twisted caps; as shown in the picture) - the bottle is kids-friendly. My 5-year-old can handle it very well. The setback is that it is comparatively more expensive. The frozen juice is less flavorful than it normally does. But at the end, my son has a lot of fun making it. My whole family enjoyed it.
All the combinations listed above will allow you to make up to 40+ Old Glory Popsicles.
Get The Measurement Right
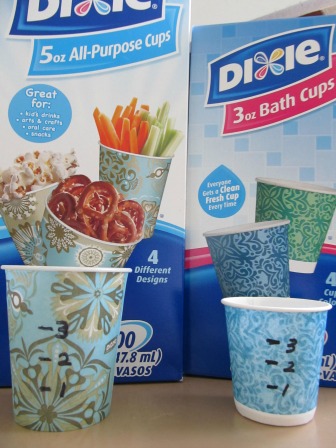
Before pouring the juice into the cups, take a look at the cup and have your imaginary lines drawn out (as shown in the picture).
Divide the cup into 4 parts so that you know when you will stop for each layer. (It doesn’t have to be exact. But it helps.) You won't use the top part, or the last 1/4 of the cup. It will be the space that you don't need and prevent the juice from spilling out.
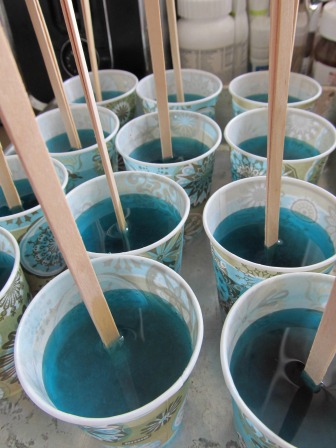 See the space left on top of each cup after pouring in the last layer
Old Glory Popsicles Recipe
Ingredients
About 9oz (255g) each
Red Kool-Aid
Blue Kool-Aid
Lemonade
3 or 5oz (85-142g) Paper cups (using the 5oz (142g) cup is going to make big Popsicles. Also, it is easier to handle with the kids.)
Popsicle sticks
White Painter tape (not the blue painter tape which is not sturdy enough to hold the stick in place)
2-inch (5cm) deep Baking sheet
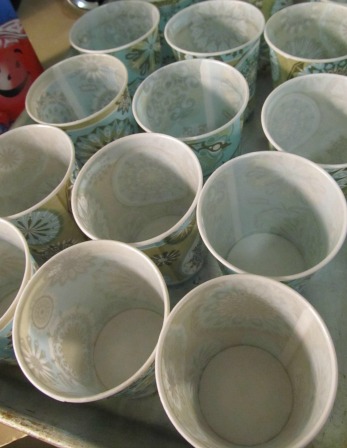 Line the cups in a 2-inch (5cm) deep baking sheet makes it easy to transfer from one place to another
- Stacking 2 cups together for a Popsicle
- Tape the painter tape across the diameter of the cup (don't make it too tight. Or, it will change the shape of the cup)
- Cut a little hole in the middle of the tape lengthwise which is just big enough to squeeze the stick through
- Put the Popsicle stick through the hole on the tape to secure its position
- Line paper cups in the baking dish
- Pour in the red juice to fill the first 1/4 of each paper cup
- Chill in the freezer for 3-4 hours (depends on how cold your freezer is) until the first layer is frozen
- Take off the tape and the second cup stacked at the bottom; optional (you can keep the tape and the stacked cup until you are ready to serve. I highly recommend you to do this step when you make this old glory dessert recipe together with your kids)
- Pour in the lemonade to fill the second 1/4 of each paper cup
- Chill in freezer for another 3-4 hours until frozen
- Pour in the blue juice to fill the third 1/4 of each paper cup (don't fill up the last 1/4 of the paper cup)
- Chill in the freezer for another 4 hours until frozen and serve
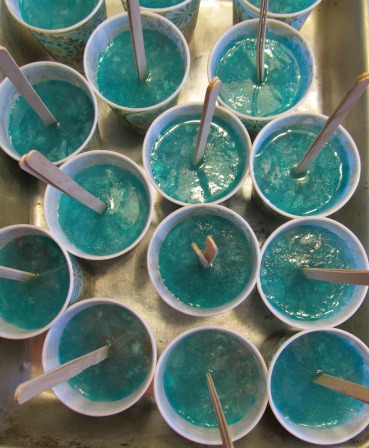
To remove the Old Glory Popsicles from the paper cups, you can dip the cups into a bowl of hot water. It will only take a few seconds to loosen the Popsicle and take it out to enjoy.
Or, wrap your hand around a cup. A little bit of warmth from your hand will make the Popsicle to come out very easily.
You May Also Be Interested In:
Return from Old Glory Popsicles Recipe page to Holiday Recipes page
Return to Easy Dinner Ideas Homepage


New! Comments
Be the first of your friends to comment what you just read